Upholstering your seats can be a rather large job. These seats took me about two weeks to go from start to finish. The following pictures will show you the process that I used to upholster my seats.
 |
| Here is the old dilapidated seat |
 |
| Start by cutting off the hog rings from the old upholstery |
 |
| The padding is hog ringed to the springs on the interior of the seat frame. Remove those hog rings and then the padding can be removed |
 |
| This will leave you with a bare frame |
 |
| Use the same process to remove the upholstery from the bottom half of the rear seat. |
 |
| Once you have the upholstery removed inspect the frame for any cracks or broken springs and repair if necessary. Once any repairs are made wire brush the loose rust off of the frame, and apply a rust converter. Then apply black paint to the seat frame. |
 |
| The seat foam is protected from the springs through a layer of burlap. Cut the burlap to the size of the seat frame, then hog ring it in place. |
 |
| The seat foam goes on top of the burlap. The original style cotton seat padding is not reproduced for a 69 rear seat. I talked to an upholstery shop and they told me that they use 1" thick foam rubber so that's what I went with. I laid the foam on the frame and cut it to the shape of the seat frame. Leave enough so that it can be wrapped around the sides of the frame. Finally hog ring the foam in place. |
 |
| The Upholstery for the back of the rear seat is secured with hog rings around the perimeter. Start in the middle and work your way out along the top edge. Once you have the top edge secured, pull the upholstery tight towards the bottom of the seat and hog ring it in place. Then do one side, and pull the the upholstery tight and hog ring the other side. |
 |
| This is what it looks like from the back. |
 |
| This is what it looks like from the front |
 |
| The bottom of the seat frame is prepared in the same manner as the seat back. Remove the old upholstery, repair any problems, then clean and paint the frame. Once the frame is painted apply a protective layer of burlap. |
 |
| Now it is time for the foam. The seat bottom is a little different from the seat back in that not only is the cover secured around the perimeter with hog rigs, it is also secured on the interior. This is necessary because the bottom of the frame is not flat. It is contoured to accommodate the tunnel in the floor pan. The foam has to have a relief incorporated in it to accommodate the areas where the hog rings will go through. I ended up doing the top of the foam using three separate pieces. I used contact cement to permanently bond the foam together. |
 |
| Lay a piece of foam on the frame and trace the curve on the edge. Then cut the foam on that line. Do this for both sides. |
 |
| Cut a small piece to fit over the hump in the middle of the frame. Then cut pieces for the front and sides. Using contact cement bond the two side pieces to the piece that goes over the hump. Only apply glue 8" down from the front of the seat. Do not glue the entire length of the foam. You need the back part of the foam to be open so that hog rings that secure the upholstery to the seat frame can be installed more easily. Once the top is assembled use several hog rings to secure the foam to the frame. |
 |
| To finish off the foam glue the sides and the front foam on using contact cement. |
 |
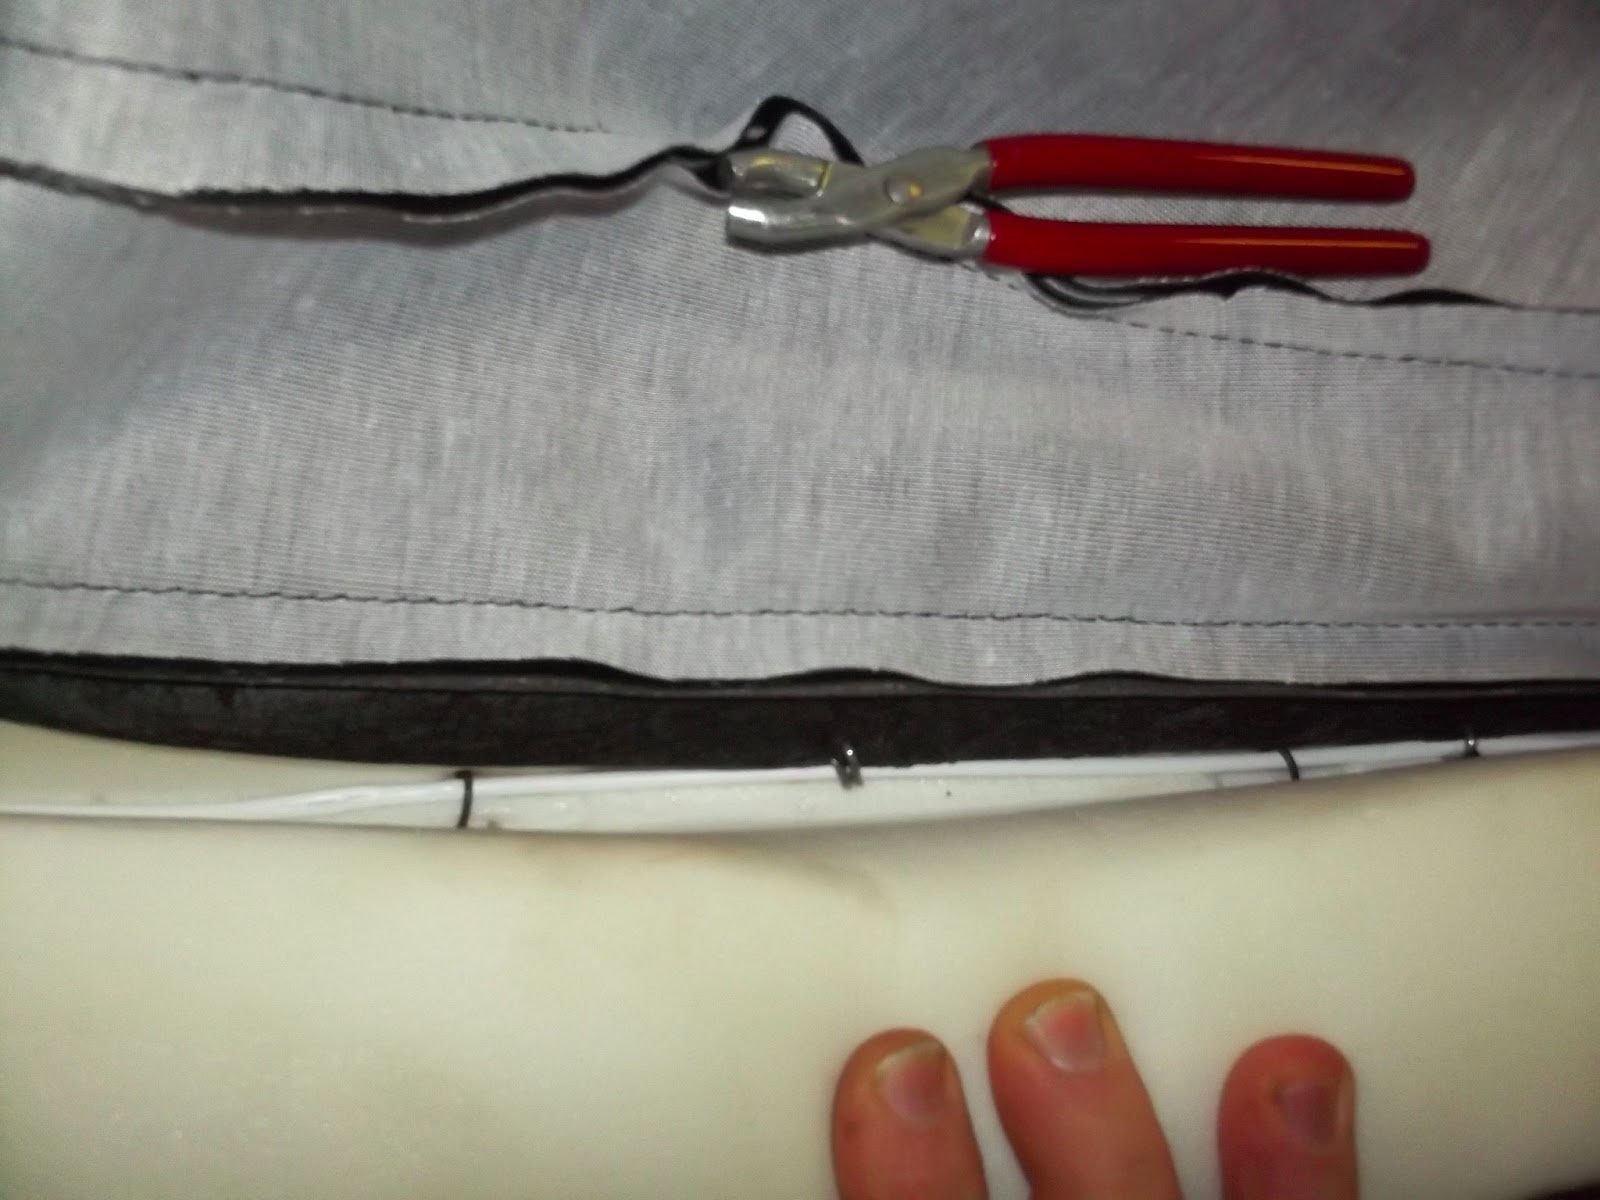
| Now it is time for the upholstery. 1st step is to secure it to the frame on the sides of the floor pan tunnel area. This is why the foam was only glued 8" from the front of the frame. To attach the upholstery insert a hog ring through the listing in the upholstery, through the burlap, and finally hook the hog ring around the seat frame. Then use hog ring pliers to secure the hog ring. four to five hog rings on each side will secure the upholstery. Once the interior is secured the perimeter can be secured using the same method that was used on the seat back. Be careful as you are stretching the upholstery. Always double check that you have the wrinkles worked out before securing the hog rings. Silicone lubricant or a thin layer of plastic can be applied between the foam and the upholstery to make it easier to slide the upholstery around to get the wrinkles out. |
 |
| Here.s the finished product. |
Front Seats
 |
| To upholster the front seats begin by removing the seat back cover. This is held on with clips and can be pried off with a screw driver. The seat back cover can be thrown away, but save the clips as they are not included with the new upholstery. |
 |
| Next remove the hinge cover. |
 |
| Then the seat stops |
 |
| Use a pry bar to remove the hinge from its pivot point. |
 |
| Your seat should now look like this. |
 |
| Before the upholstery can be removed you must remove the seat tracks. There are four phillips head screws that secure the tracks to the frame. You will have to move the seat track in order to access these screws. |
 |
| Once the seat tracks are removed the upholstery can be taken off. Just like with the rear seat the upholstery is removed by cutting the hog rings that secure the cover. Once the upholstery is removed remove the hog rings that secure the foam to the frame. This will take you down to the bare frame. |
 |
| Here is the bare frame from the bottom of the front seat. |
 |
| It is hard to see in this picture, but the headrest is secured with a clip inside of the seat. Using a screwdriver you can move the spring loaded clip out of the way and the headrest will simply pull out of the seat. |
 |
| The plastic headrest trim is removed by pushing the tab in that secures it to the bracket, then simply pull it out. Once the headrest is out the upholstery can be removed using the same method as was used to remove it from the other parts of the seat. |
 |
| With the upholstery removed clean repair, and paint the seat frames. |
 |
| Now secure burlap to the frame using hog rings. |
 |
| Seat foam for the front seats is reproduced. The foam is set right on top of the burlap. Push it down in place over the seat frame. The foam is secured using heavy wire (I used a coat hanger). Bend the coat hanger to match the channel in the foam. |
 |
| The factory secured the wire to the frame using hog rings. I found it easier to use tie wire. Cut 8" long pieces of tie wire and bend them into a U shape. |
 |
| Push the tie wire through the foam making sure that it straddles the coat hanger in the channel. Then from the underside secure the tie wire to the seat frame. |
 |
| Now it is time for the upholstery. There is a pocket on the underside of the upholstery. Insert heavy wire through the channel. The channel is in a U shape, so it takes some patient to get the wire worked through. |
 |
| Now place the upholstery on to the seat foam. The wire that was fed through the upholstery should coincide with the wire that was used to attach the foam to the seat frame. Align these wires and hog ring them together. This can be tricky because the foam is rather stiff. An extra set of hands can be helpful for this step. Before moving to the next step reinstall the seat stop screws into their respective holes. This will make it much easier to locate the holes once the cover is installed. |
 |
| This is what is should look like after the interior of the seat cover is hog ringed in place. |
 |
| Now the seat cover has to be stretched over the foam and attached to the bottom of the seat frame. It is necessary to pull on the cover rather hard to get it to stretch over the foam. It may make it easier if you apply a silicone based lubricant or put a piece of thin plastic in between the foam and the cover. This will decrease the friction between the foam and the seat cover. |
 |
| With the seat cover stretched use hog rings to secure the cover to the frame. |
 |
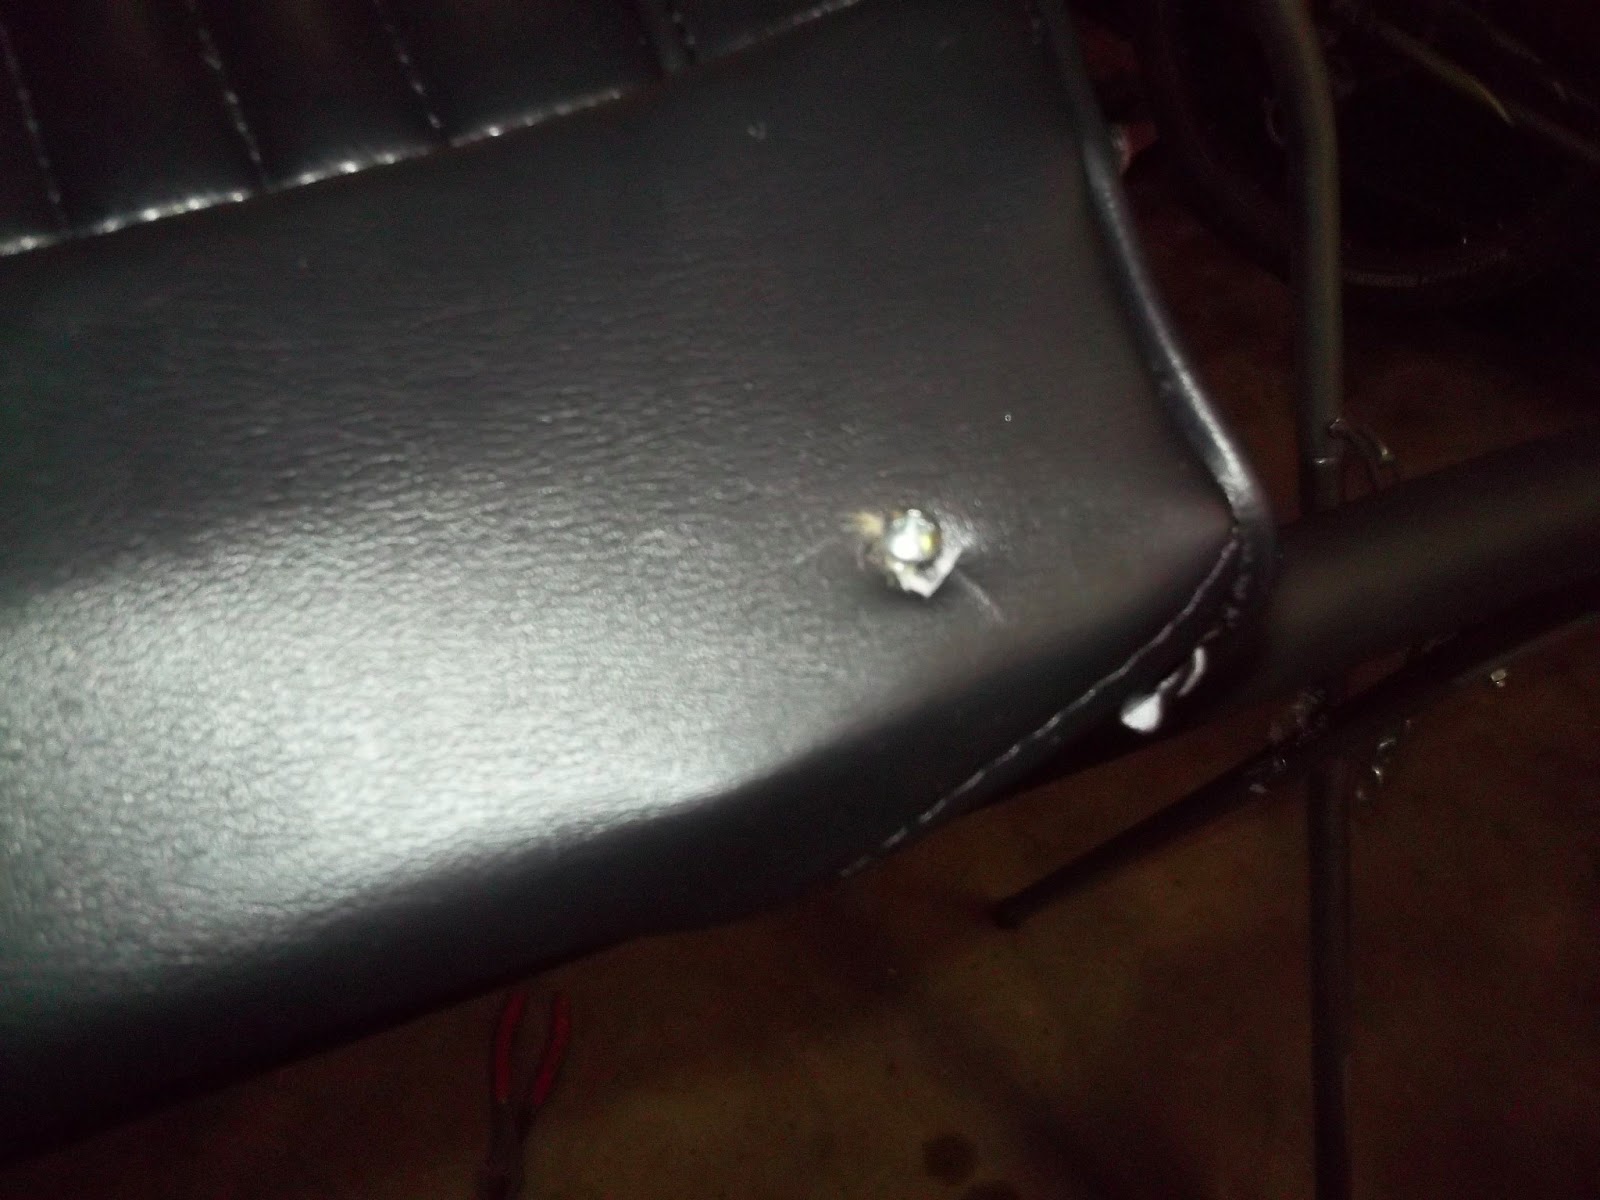
| Next locate the screw heads for the seat stops. Using a razor blade cut an X on top of the screw head. |
 |
| Now remove the screw and reinstall the seat stop. |
 |
| Next reinstall the seat tracks using the 4 phillips head fasteners. It will be necessary to cut a hole in the vinyl for the back two screws. The front ones are not covered by the vinyl. |
 |
| Here is the finished seat bottom from the back |
 |
| Here is the finished seat bottom from the front. |
 |
| The same process is used on the back of the front seats. Once it is all assembled it should look like the one on the left. One more thing. I forgot to take pictures of re covering the head rests, but it is very simple. The most important thing is to flip the new head rest cover inside out. Then simply slide it down over the headrest. Once it is slid over the headrest Staple it in place and reinstall the trim piece. |


Thanks this helped us out alot.
ReplyDeleteNo problem. Glad to help!
ReplyDelete